How-to: Change a wheel
How-to: Change a wheel
We’re kicking off this How-to blog series by giving a step-by-step guide on how-to change a wheel. This may seem like an easy task for some, but for those who are unaware, this skill could definitely be a lifesaver when you need it!
Here’s How-to: Change a wheel.
Before you start the process of changing your wheel, make sure you’re in a safe place. Drive to a safer road, turn your hazard lights on, and make sure other drivers are aware of your intentions.
Additionally, you want to make sure you have the right tools for this. You will need:
. A spare wheel
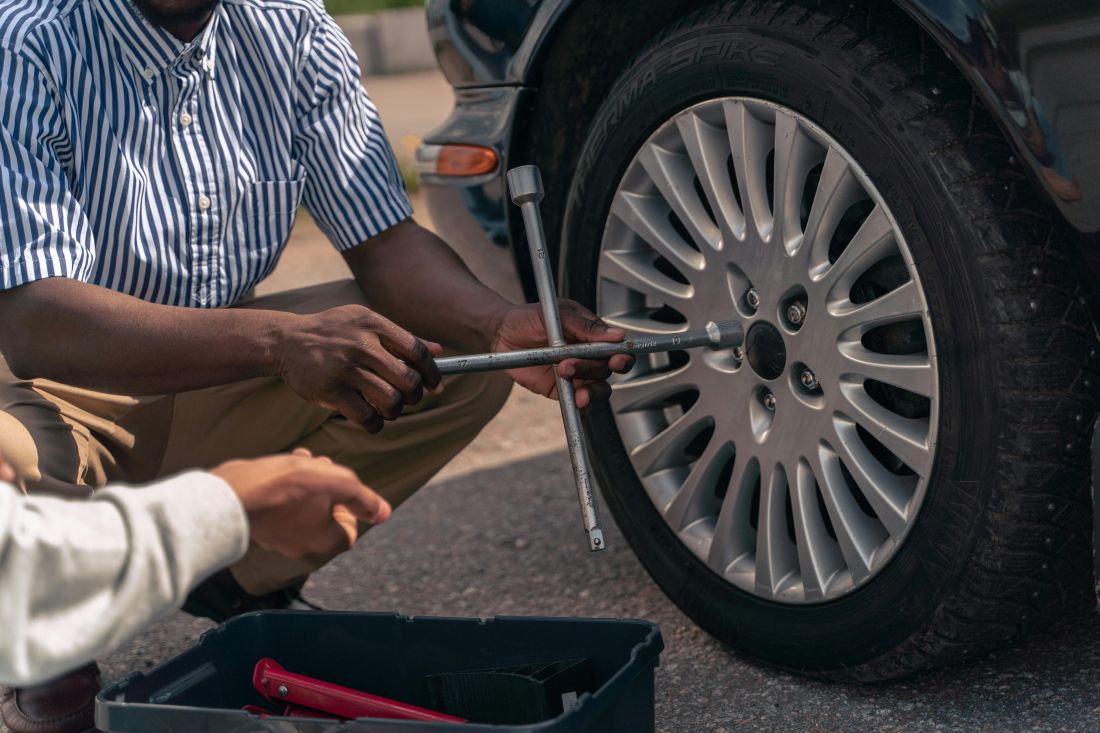
. Wrench – for removing the wheel nuts
. Jack – for lifting the car off the ground
. Wheel chock – to stop the car from rolling away when jacked up (bricks can be used instead)
. Wheel nut key – if locking nuts are fitted
. Car handbook – for reference (e.g. on jacking points)
1. Make sure the car is parked with the engine off, and ensure all passengers are out of the car. Take the spare wheel and necessary tools out of the boot.
2. Place chocks under the opposite side of the car (e.g. left rear wheel if right front wheel is affected) or under all wheels except the one that’s damaged. This will prevent your car from rolling away while it is jacked up. You do not need chocks, just bricks or large rocks will suffice.
3. Loosen the wheel nuts, do this while the car is still on the ground as it will be easier. Turn the wrench anti clockwise to loosen it (it may be tough initially), you also want to make sure you don’t loosen them up the entire way.
4. Check your car handbook and find the dedicated car jack up spots, you ideally want to be closest to the side with the damaged wheel. Once you’ve checked, place a plank of wood if you have a plank of wood under the jack to stabilise it and then jack the car up until it’s 10-15 cm off the ground.
5. Once the cars jacked up, remove the loosened nuts of the wheel and gently pull the wheel towards you and remove it.
6. Then put the wheel on in line with where the slots for the wheel nuts are and make sure it’s well adjusted. Put on new wheel nuts and tighten them by hand.
7. Once the wheel nuts are tightened by hand, lower the car using the jack and continue tightening the wheel nuts with the wrench.
8. Using the jack again, bring the wheel back down to the road, ensure the wheel nuts are properly tightened and put all your equipment back in your boot including the damaged wheel and you're done!
After following these steps, you should have successfully changed a wheel, drive to your nearest station to make sure the tire pressure is right, alternatively, you may check yourself, if you have a tire pressure gage.
Finally, you should book in with a garage to consult them on the wheel damage and get the wheel repaired or replaced as is appropriate since spare wheels aren’t usually made to be long-standing but rather, a temporary solution for emergencies.
If this How-to guide helped, book in with our service garage for a free wheel consultation. We’ll check, repair or replace the wheel in no time!
Book in with the service team.